Installing a skin in Minecraft is a simple and straightforward process. Here are the steps to follow:
Step 1: Choose and Download a Skin
There are numerous websites that offer Minecraft skins for free. Choose a skin that you like and download it to your computer. You Can Also Download it From Our Website Click Here

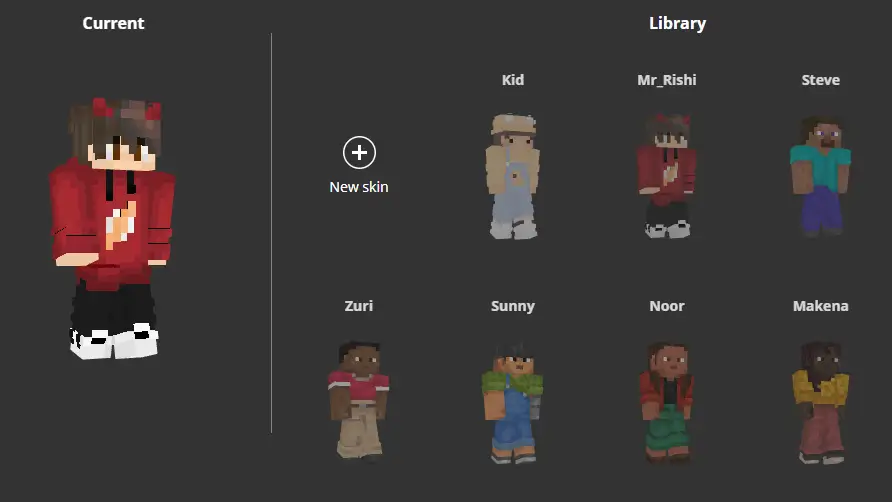
Step 2: Open Minecraft and Go to the Skins Section
Open Minecraft and select the "Skins" option from the main menu. This will take you to the "Minecraft Skins" screen.

Step 3: Upload the Skin
On the Minecraft Skins screen, click on the "Browse" button to locate the downloaded skin file on your computer. Select the file and click on "Upload." The new skin will be uploaded and displayed on the Minecraft Skins screen.


Step 4: Apply the Skin
Once the skin has been uploaded, you can select it by clicking on it in the Minecraft Skins screen. Then click on the "Apply" button to use the new skin. The skin will be applied to your Minecraft account and will be visible to other players in multiplayer games.

That's it! You have successfully installed a new skin in Minecraft. Keep in mind that you can change your skin at any time by repeating the above steps with a new skin file. Additionally, some skins may require a Minecraft account or a specific version of the game to work properly, so make sure to read the instructions carefully before downloading and installing a skin.